Finishing, Scissor Fobs, Shepherd's Bush, Stitching Smalls, The Drawn Thread

Preview of the next tutorial

Yesterday I had a mini finishing spree where I did all the photos needed (almost all anyway!) for two scissor fob tutorials.  As you can see from my previous post I managed to complete one of them and have it published … I want to take some more photos before I publish the second one, though, so the cord attachment is more clear.  In the meantime, however, I can share my two finishes from yesterday – so you have a preview of which fob finishing method is coming next … 😉

P1080012

It’s felt really good doing the tutorials once again … perhaps my finishing funk is slowly disappearing and a wee bit of mojo is returning? … I really do hope so! 😀


Cross Stitch, Finished Items, Finishing, Focus on Finishing, Scissor Fobs, Stitching Smalls, The Drawn Thread, Tutorials

Stitching Tutorial #1

I have just published the following tutorial in my Focus on Finishing blog, but thought I’d include it here as well …

This is the first of a number of upcoming Scissor Fob tutorials … and is the type of finishing used by The Drawn Thread freebie designs and similar to Mill Hill treasure ornament series.  The finish is a diamond shape, which I think is really attractive for a scissor fob.  This one in my tutorial is a bit large for a scissor fob, in my opinion, but the finishing is the same irrespective of the design size you choose 🙂  If you are interested, this is Pumpkin Keeper freebie by The Drawn Thread.

P1060957

Materials needed:

  • Stitched project – this needs to be a square design, preferably stitched in a diamond shape
  • DMC thread or sewing machine thread to match the stitching fabric (and contrasting sewing machine thread for basting, if desired)
  • Stuffing (your preferred choice, can be Polyfil, crushed walnut shells, or teddy bear pellets, for example)
  • DMC for cording, or ready-made cord
  • Pencil or cording drill

1.  Ensure you have equal sides on your stitching – the easiest way to do this is to count the number of squares away from each of your piece if stitched on aida, or count a specified number of threads away from each side when stitching on linen.  In this case I followed the Drawn Thread instructions, which was to count out 24 threads away from the stitched area and cut off the fabric edges.  I find the easiest way to do this is to count out your designated number of threads then remove the next thread, ie pull it all the way out – this leaves a clean channel for cutting a straight line following the weave of the linen, as you can see in the photo below.

P1040636

P1040636

2.  Once you have cut away your edges and have a nice square piece of fabric, fold your stitching in half across the centre of the design, with the right side of the stitching facing each other.  Pin the edges together, and stitch a seam allowance at each of the short edges.  As it is hard to see my thread on the fabric, I have highlighted with red stitching where the seam line is below.

P1060927

P1060927a

I usually prefer top snip the corners slightly to make them easier to make ‘points’ once they’re turned the right-side-out.  If you do this, make sure you don’t snip them too close to the seam line, or it will unravel, and you don’t want that!

P1060928

3.  Now turn your stitched piece inside out, and put out the corners – sometimes I use a pointed chopstick to help get a nice point in the corner, but this needs to be done gently so you don’t poke a hole in the fabric!

P1060930P1060931

4.  Next we turn over the seam allowance on the top raw edges.  I prefer to give the seam a quick iron to make it sit flat.  You can just pin the seam allowance down around the top, or do as I do which is to baste it down using a contrasting sewing machine thread.

P1060932P1060933P1060935

5.  Next bring the two seams together to meet in the centre, and your stitching is in a diamond shape.  I usually pop a couple of pins in temporarily to hold the seams in place.  Turn your piece over to work out which is the top of your stitching, and where the cord will eventually be attached.  In this tutorial, because the fob is so big I’ve decided to just have a cord hanger at the top without any tassel or embellishments at the bottom – another tutorial will cover the option of adding tassels to your fob later.

P1060936P1060938

6.  Next it’s time to make your cord – obviously if you have purchased ready-made cord you can omit this step, but ensure your purchased cord is quite narrow so you can knot the ends easily.  I made my cord out of DMC cotton floss, and because of the size of the fob I opted to use 4 strands of DMC for my cord as I wanted it to be a bit thicker (my preference is usually 3 strands of either DMC or pearl cotton).  Sometimes it’s trial and error as to how thick the cord will turn out.  It is generally much easier to have another person assist you in making cord, but as I’m on my own I have to improvise with whatever is handy!  I apologise in advance for the poor photos in this section, I will do another tutorial soon to show the steps more clearly …

The first thing to do is to knot each end of the group of threads together.

P1060894

P1060898

Next you need to rope in an assistance to help out by holding one end of the threads tightly, or do what I do by finding something you can attach the other end to … in my case I have a portable clothes rack that I used, by snapping a metal ring over the rail and hooking the ring through the middle of the threads at the knot end.  Alternatively you could tie the end around a door handle or something similar.

P1060899

If you have a cord drill, that’s perfect, otherwise you can make do by using a simple pencil to wind the thread.  Take your pencil and insert it through the middle of the remaining end of the thread (at the knotted end), and walk back until your thread is nice and straight.  Then start turning your pencil – it doesn’t matter in which direction you turn your pencil, as long as you continue to turn it the same way 😉  I prefer to use a cord drill as it’s so much quicker, so that’s how I finished my cord off this time round.

P1060900P1060901P1060911

You need to keep turning your pencil/cord drill until your threads are very taut.  If you slacken off your tension a little bit and your thread starts to ‘kink’ and turn on itself it’s generally twisted enough.  I let go of the tension a little bit here so I can hopefully show you what I mean about the ‘kinking’ of the thread.

P1060913P1060915P1060917

This next part is very tricky to photograph as I needed both hands …  Once your thread is twisted enough, carefully hold the middle of your twisted thread with one hand, then using your other hand bring the two knotted ends together.

P1060918P1060921

I usually use a self-made weight that I hang in the middle, but forgot to use it this time!  I’ll show that method another time, as it’s a really quick way to get the threads twisting onto themselves!  In this case, however, I just used my left hand (my right hand was still holding the two ends together) to slide up the thread about an inch, and using my thumb and forefinger gave the threads a gentle twist.  You continue to do that by working up the thread and helping the threads twice nicely onto themselves.  Eventually you end up with a beautifully twisted cord.  Then you finish off by knotting the two loose ends together so it doesn’t unravel.  And voilà your cord is finished!! 😀

P1060923P1060924

7.  Decide how long you want your cord to be – generally 3 1/2 to 4 inches is about the right length, but you may prefer to have your hanger longer than that – it’s all personal preference!  In this case I’d made my cord quite short so I could do the tutorial easier for you.  Knot the two loose ends together at your desired length.

P1060925

8.  Now it’s time to pick up your stitching once again, and we need to start stitching up the remaining seam.  My preference is to close it up using a ladder stitch, however you can use a whip-stitch if that is easier for you.  Start at the bottom of the fob, away from where the cord will be inserted.  To do a ladder stitch you just work your way alternatively up each side of the seam, taking a few threads in your needle for each stitch – this looks like the rungs of a ladder when the stitches are loose, and when you pull them tight they close up the seam very cleanly.  Keep stitching up the seam until approx 1″ away from the end.

P1060942P1060944P1060946

9.  At this point you insert your chosen stuffing.  I have opted to use teddy bear pellets for mine, as I really like the extra weight it gives the fob, especially for smaller fobs (in hindsight I probably should have used Polyfil for one this big!!).  When I stuff with pellets I use a little Tupperware funnel that I find really useful for this job – alternatively you can roll a piece of stiff paper into a funnel instead!

P1060947P1060948

10.  Now we’re on the homeward stretch, and it’s time to add the cord and close up the seam!  Take your cord, and place the knot inside the seam opening, then continue stitching up the opening to the top.  Sometimes I will take my thread through the cord at the top to stop it from moving around, but it wasn’t needed for my fob this time.  You can now remove all your basting stitches.

P1060953

And that’s it, your fob is all finished and ready to adorn your chosen pair of scissors!!

P1060956

As always, please feel free to leave comments and let me know if you have any questions.  It’s always good to know if you find the tutorials useful, or if there is something you would like to see more of, so the comments are always appreciated!

Kindest regards,

Brown House Studio, Canvaswork, Christmas Ornaments, Cross Stitch, Northern Pine Designs, Works in Progress

A touch of vertigo and stitching

Finally my work project launched recently, but not until I’d had a few weeks of really long hours – including a 2am finish and a few 10-11pm finishes in the final week.  To say I was a touch mentally and physically exhausted at the end of it all is definitely an understatement.  My boss very kindly offered for me to have a few days off work in lieu of all the extra hours I put in … so I decided to take 3 days off at the start of last week, 2 days of which were in lieu from the previous month’s project … only to fall ill on day 3.  I had a wonderful couple of days off where I managed to stitch up a Christmas ornament, and did a whole lot of cooking for the freezer … but then on day 3 I woke up with severe vertigo, and have been bed-bound for almost a week since then.  The last couple of days I’ve managed to sit up in bed and watch TV, but I have only managed to walk over to the doctor’s surgery once yesterday, and came straight back to bed again …  I did, however, manage to put a few stitches into a canvaswork project – it was a nice calming distraction, and didn’t tax the eyes too much with the nice large holes in the canvas etc.

971819_10151604537623148_1334514417_n

“Folk Art Topiary”  ornament by Brown House Studio (2004 JCS Xmas ornie issue)
stitched on 28ct Golden Needle Country French linen
with recommended Crescent Colours threads

1185043_10151604537588148_1598849201_n

“Ebb Tide” by Northern Pine Designs (work in progress)

Today I’m going to attempt to try and finish off another ornament already started, but in truth the fabric holes are really hard to see, so I may give it up as a bad joke pretty quickly … but if nothing else I’ll be catching up with the final episodes of Season 3 of True Blood … I hadn’t watched any of them before, but they were ‘free’ to watch on Quickflix (as part of my monthly membership), so I’ve been glued to the gogglebox watching all 3 seasons over the last couple of days … it looks like seasons 4 and 5 are on there too, so I know what I’ll be doing for the next week or two … I knew there was a good reason to up my internet quota, I’ve certainly been making good use of it at the moment, that’s for sure!!

Canvaswork, Round Robins, Shepherd's Bush, Stash, Works in Progress

Stash galore – and a new start

Over the Christmas period while I was at my parents’ place Mum and I went a little crazy with some major sales (ie 40% or more off) happening.  In some ways you could say this was my Mum’s Christmas gift to me, as she gifted me with a “Visa card repayment” which meant I had some additional play money while I was there.  I hadn’t realised really just how much I’d ordered until it all started turning up last week! LOL.  There is still one parcel yet to see, as I sent it to Mum’s address, thinking I was staying there for Dad’s surgery – so I’ll have an extra little treat waiting for me when I return (assuming Mum hasn’t put it somewhere “safe” never to be seen again LOL).  Anyway, without further ado here is the MASSIVE pile of stash that arrived, which also managed to clear off a number of items that have been on my wishlist for years!

P1060685

P1060684

P1060683

P1060682

P1060681

As for stitching, my needle has been very scarce these days – I did have a sudden urge to stitch a few nights ago and opted for the first thing I could find that was already kitted up, was relatively small, and basically could be ready to stitch at a few moments notice (considering I made my “let’s stitch” decision at 9pm at night!!) … I ended up choosing one of the Shepherd’s Bush scissor fobs from my original Crazy January Challenge list.  I still haven’t finished it yet, but I was very good and marked up my rotation spreadsheet to make sure I’m still allocating the right times to each slot.  The front is completely finished, and I just have to complete the back and it’s done 🙂

P1060686

Next up, though, is to start (and hopefully finish) my Round Robin piece – which are the Seasonal Topiaries by Passione Ricamo.  This was originally published as a set of freebies on the internet, but I think they’ve been long since taken down, and the design has since been published in a magazine.  I’ve decided to stitch mine on a piece of hand-dyed Pipi Belfast by Countrystitch … and seeing as it’s due to be posted out on 1 February, you know what I’ll be doing the entire long weekend this weekend (thank heavens for that extra day so my goal feels slightly more achievable!).

And on that note, I’ve ironed my piece of fabric tonight ready to start, so I think I’d better so drag the tub of DMC out and start finding the colours I need.  Mind you, in actual fact it doesn’t really matter if I don’t 100% finish my section, as long as I complete all the border pieces … “she’ll be right”!  This is a link of what my round robin will look like – and I love the added verse at the top of the sampler so much that I’ve ‘stolen’ the idea and will be doing the same thing with mine too … the only difference is that I’m moving the Winter tree to be on the left to make the sampler a teeny bit more balanced 🙂

Crazy January 2013 Challenge, Cross Stitch, Finished Items, Finishes, Flowers Trees & Gardens, Frangipani, Goals, Pay It Forward, pincushions, scissor fobs, Stitching Smalls, The Floss Box

It’s a woman’s prerogative…

No sooner had I set out my stitching plans for 2012 that I started to realise I really don’t know how in the hell I’m going to achieve all of those finishes/goals when I really only get to stitch on the weekends (and not every weekend at that) … so I’m seriously thinking of throwing those previous plans out the window, and just going back to a rotation instead.  That means I’ll also be able to focus more on my existing WIPs which are actually starting to bother me, rather than trying to cram in those same WIPs (at a lot slower pace than I’d like) as well as meeting all the SAL and commitment deadlines at the same time … and probably not getting any of them done by the year’s end (but not stressing about it).

Perhaps it’s just that my head is in the wrong space at the start of the year with Dad’s health and some work issues that are still really bothering me.  Both of these issues are slowly getting resolved, with Dad seeing his surgeon this Friday, and I’ve started having dummy spits in the office to voice my frustrations at issues I’m facing (including telling a team member they’re doing my head in and they’re not helping my stress levels … yep, there have definitely been a few dummy spits lately in that respect, and probably a couple of months well overdue at that!!).  Anyway, maybe removing the pressure of having to finish all these projects will help to restore some sanity to my stitching – most of the projects in my list will still remain there as part of the rotation, I will just have no expectation to actually complete them by the year’s end … plus I’ll have the opportunity to change my mind at a moment’s notice, as I’ve also come across some other projects that I really wanted to stitch, but that didn’t make the cut for my initial 15 projects …  I think the stress of only limiting my stitching to a set group of projects also inhibits my sense of freedom, and as soon as that sort of pressure starts mounting I find I don’t end up stitching at all … so perhaps it’s for the betterment of my stitching this year to just ‘let it all hang out’ so to speak 😉

Tomorrow I’m off to the local GP to try and get some antibiotics for my bugs, which will also help to bring me back to a state of equilibrium (and probably less likely to have dummy spits at work LOL) … and perhaps feel more like stitching … but in the meantime I’m going to start my rotation guilt-free just as soon as I’ve finished my Round Robin piece that’s due out for mailing at the end of January … but not before I have fun by adding a few more rotation projects to the pipeline 🙂

And I’m not stressing if I change my mind a million times throughout the year … as the title of this post says, “it’s a woman’s prerogative” … as long as I enjoy my stitching this year I’m happy 😀

section divider

Ooh, before I forget, I heard from Cindy that my little gift arrived safe and sound when she returned from holidays – so I can now share the full goodies … just as soon as I find the photos!!!  I think I’ve shown the finished biscornu before, but I’ve never shown the finished fob that matched it.  It feels good that this is now finished and living in its new home 🙂

section divider

While I’m at it, I think there are also a number of framing jobs that I completed in November last year that I haven’t shared on here yet … the Tiger and Summer Snapperland are both for me, whereas the bears and the Letter S are both for gifts.  I did most of the framing of the Tiger 2 years ago, but couldn’t finish-finish it as the backing board was too high … he’s one of my first ever finishes (stitched on aida) and I love, love, love him!

P1060581

P1060548

P1060559

P1060577

P1060580

section divider

Finally here are a couple of yummy things I brought back from New Zealand with me on my last trip – the scrumptious blug electric kettle was compliments of Mum and Dad’s Fly Buys points in NZ, while the bowls are from my ‘glory box’ still in storage over there.  Both have already been christened, and I’m totally in love with the jug in particular!!  And I can’t WAIT to try out the new Orange Truffle Baileys over a bucket of ice … hmmm, in fact I just may choose that for dessert tonight, the ice will help soothe my throat and the alcohol will help to lull me into sleepy submission … hmmm …

P1060661

P1060666

P1060664

The final photos are of my frangipani plants on my balcony to show Mum – now both plants have finally flowered, although I’m disappointed to see the 2nd plant which has flowered for the first time has the pink frangipani … it’s still very pretty, but I do have to admit to preferring the white frangipani on the whole.

P1060667

P1060669

P1060670

And I think that will do me for another post … I still have some other things to post yet, but think I’m a bit photo heavy already … and it’ll give me something to write about later (if I get over the shock of having so many blog posts in one month!!!).

Crafts - Needlework, Cross Stitch

Stitching/Needlework Acronyms

How many times did you get a puzzled look on your face when you first ventured out into the world of stitching blogs and internet groups, when people in these groups seemed to have a language all of their own?  Places where you could see people having discussions in a special mysterious code due to the total nonsensical words that were uttered to everyone’s comprehension but your own … “I decided to work on my HAED today, it’s a PITA BAP but I thought I should work on it for the SAL this week so it continues to be a WIP instead of a UFO”.  I’m sure if I had read that sentence years ago the next acronym that would have sprung to mind would have been the more universal choice of “WTH…?”

After a while we tend to forget that there are still newbies out in internet-land that haven’t been exposed to this strange language, and are often too embarrassed to ask those of us speaking in code what these things mean … a recent discussion on a Facebook group I belong to prompted me to put a few meanings together on here just in case anyone was interested.  Please feel free to let me know if there are others that you would like to see added, and I’ll update the list accordingly.

So, without further ado, here is the list of oft-used stitching and needlework acronyms out in the world today:

BAP = Big Ass Project/Big Arse Project (depending what country you live in): A very large project.

BF = Blending Filament: An evil (yet beautiful) metallic thread made by Kreinik that often brings out Turettes in stitchers, and it is rumoured it is best tamed by the use of Threadheaven (another stitching accessory something similar to beeswax but softer and synthetic).

BS = Backstitching: While some stitchers love it, others think it rather resembles the more general understanding of the term “BS” outside stitching circles.

FUFO = Finished UnFinished Object or Finished UnFramed Object: A project where the stitching has been completed but it is still sitting in the finishing pile waiting to either be framed or finished into it’s final form (eg needlework smalls etc).

GAST = Gentle Arts Sampler Threads: Manufacturer of an overdyed thread.

HAED = Heaven and Earth Designs: Designer of some exquisite designs whose projects are numerous pages long (often also referred to as “BAPs” – see above).

HPI = Holes Per Inch: Measurement of fabric.  Aida is measured by the ‘blocks’ (ie one hole at the start and finish of each little square block), eg 14 count (14ct) Aida = 14 holes/squares per inch.  Linen/evenweave fabric is measured by the holes either side of each thread of fabric, therefore 28 count (28ct) linen = 28 threads of fabric per inch.

JCS = Just Cross Stitch: A needlework magazine (published in the USA).

LNS = Local Needlework Store/Shop.

NSLNS = Not-So-Local Needlework Store/Shop.

ONS = Online Needlework Store.

OOP = Out Of Print: Rare or hard to find patterns that are no longer published by the designer/manufacturer and are often only found by paying exorbitant amounts of money on such places as Ebay unless you can find a kind stitcher who is happy to sell/trade for a reasonable cost.

ORT (or Ort) = Old Ratty Threads: The tail end of the embroidery threads that you throw away.

PFH = Project From Hell: Often refers to a particularly bad “BAP” or “UFO” and is particularly onerous and torturous for the stitcher to work on it, often only assisted by the comfort of chocolate, wine, or both.

PhD = Project Half Done or Potential Happy Dance.

PIF = Pay It Forward: Usually an online blog writer offers to make a home-made gift for 3 people who comment on the post – those 3 recipients have to reciprocate and offer 3 home-made gifts for 3 of their commenters, and the game continues therefore sharing gifts of love throughout the stitching world.

PITA = Pain In The Ass/Arse.

RAK = Random Act of Kindness: A gift sent to a fellow stitcher “just because you can” and without desiring anything in return for the gift.

RR = Round Robin: A group of stitchers who each choose a theme or design/set of designs and in turn send their stitched piece to the next person on the list.  Each stitcher gets to stitch a little piece on every other stitcher’s projects, and there is a set timeframe given where the assigned stitching must be completed by before posting to the next person.  In each case you are always sending to the same person in the group – and the rotation continues until you eventually receive your own Round Robin project back once again in a finished form.

SABLE = Stash Acquisition Beyond Life Expectancy.

SAL = Stitch-A-long: Usually a group of stitchers working on a specified project together.  Many groups will have individual stitchers working on the exact same project around the world at a given time of the week/month and participants will encourage each other by posting photos of their stitching in progress.  SALs aren’t just for a set individual project, but could be a specific designer, theme, or anything that the group wants to stitch together.

S.E.X. = Stash Enhancement eXpedition: Shopping spree for needlework supplies.

SINS = Stuff I’ll Never Stitch.

StRIP = Stash Reduction Implementation Plan: Usually when your stash has taken over your house stitchers may choose to go on a Stash reduction plan, by only/primarily working on existing projects in their stash rather than buying new purchases – this tends to be a temporary ailment that most stitchers get over quickly, and the only treatment seems to be S.E.X. (see above).  Most people set a goal of only permitting themselves to buy more stash once they have stitched, eg, 10 projects or for a set period of time abstaining from S.E.X.

TUSAL = Totally Useless Stitch-A-Long: A monthly online blog game where participants post pictures of their orts that have been collected over the previous month – many people have special containers set aside as their ort vessels for the year.

UFO = UnFinished Object:  A project that hasn’t been touched for a significant period of time, and lies punished and ashamed at the bottom of the cupboard in solitary confinement or with other UFOs.

WDW = Weeks Dye Works: Manufacturer of an overdyed thread.

WIP = Work in Progress: Generally a project that you are ‘actively’ working on.

WISP = Work in Slow Progress: Generally a project that you are actively working on … but progressing at a snail’s pace.

XS = Cross stitch.

Some other stitching terms explained:

Frogging/Frogstitch = Ripping out stitches that are wrong, based on “rip-it, rip-it” which sounds similar to “ribbit, ribbit”.  Also known as “reverse stitching”.

Reverse Stitching = See Frogging/Frogstitch above.

Stash = Your own personal stock of stitching supplies, eg charts, fabric, threads etc.

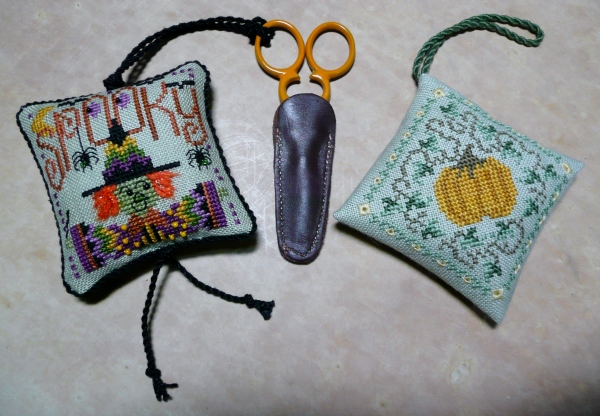
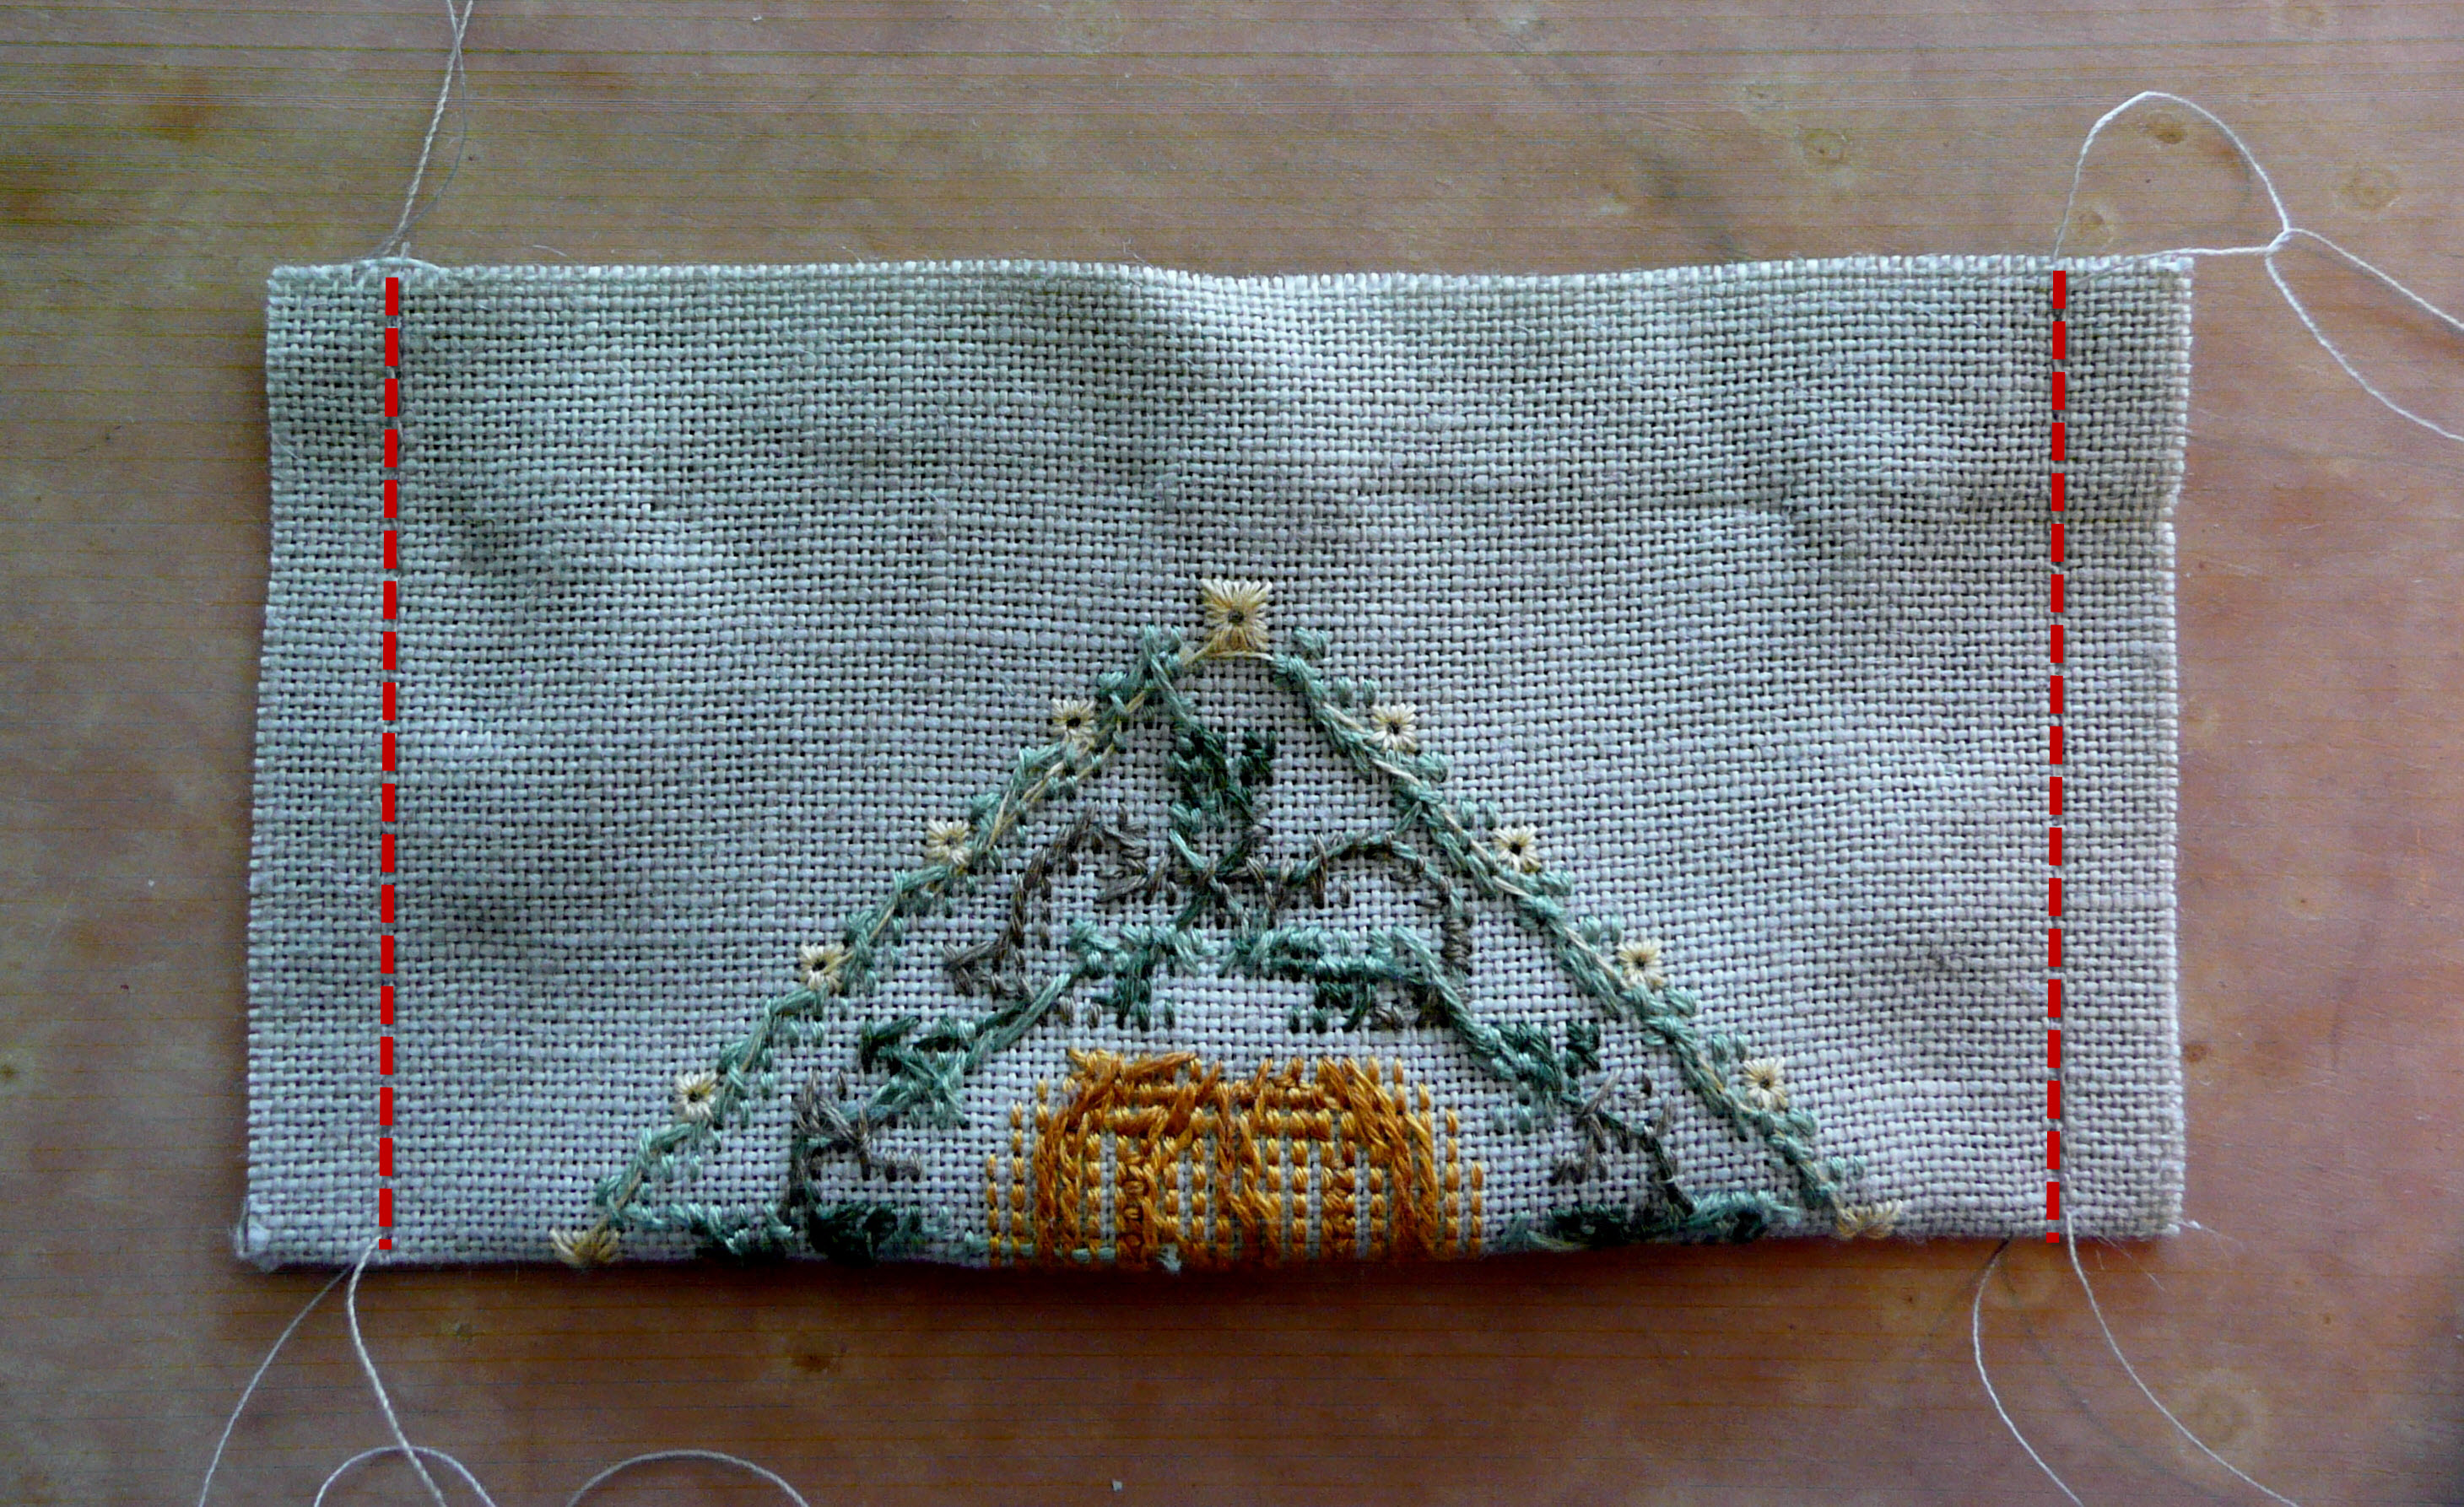
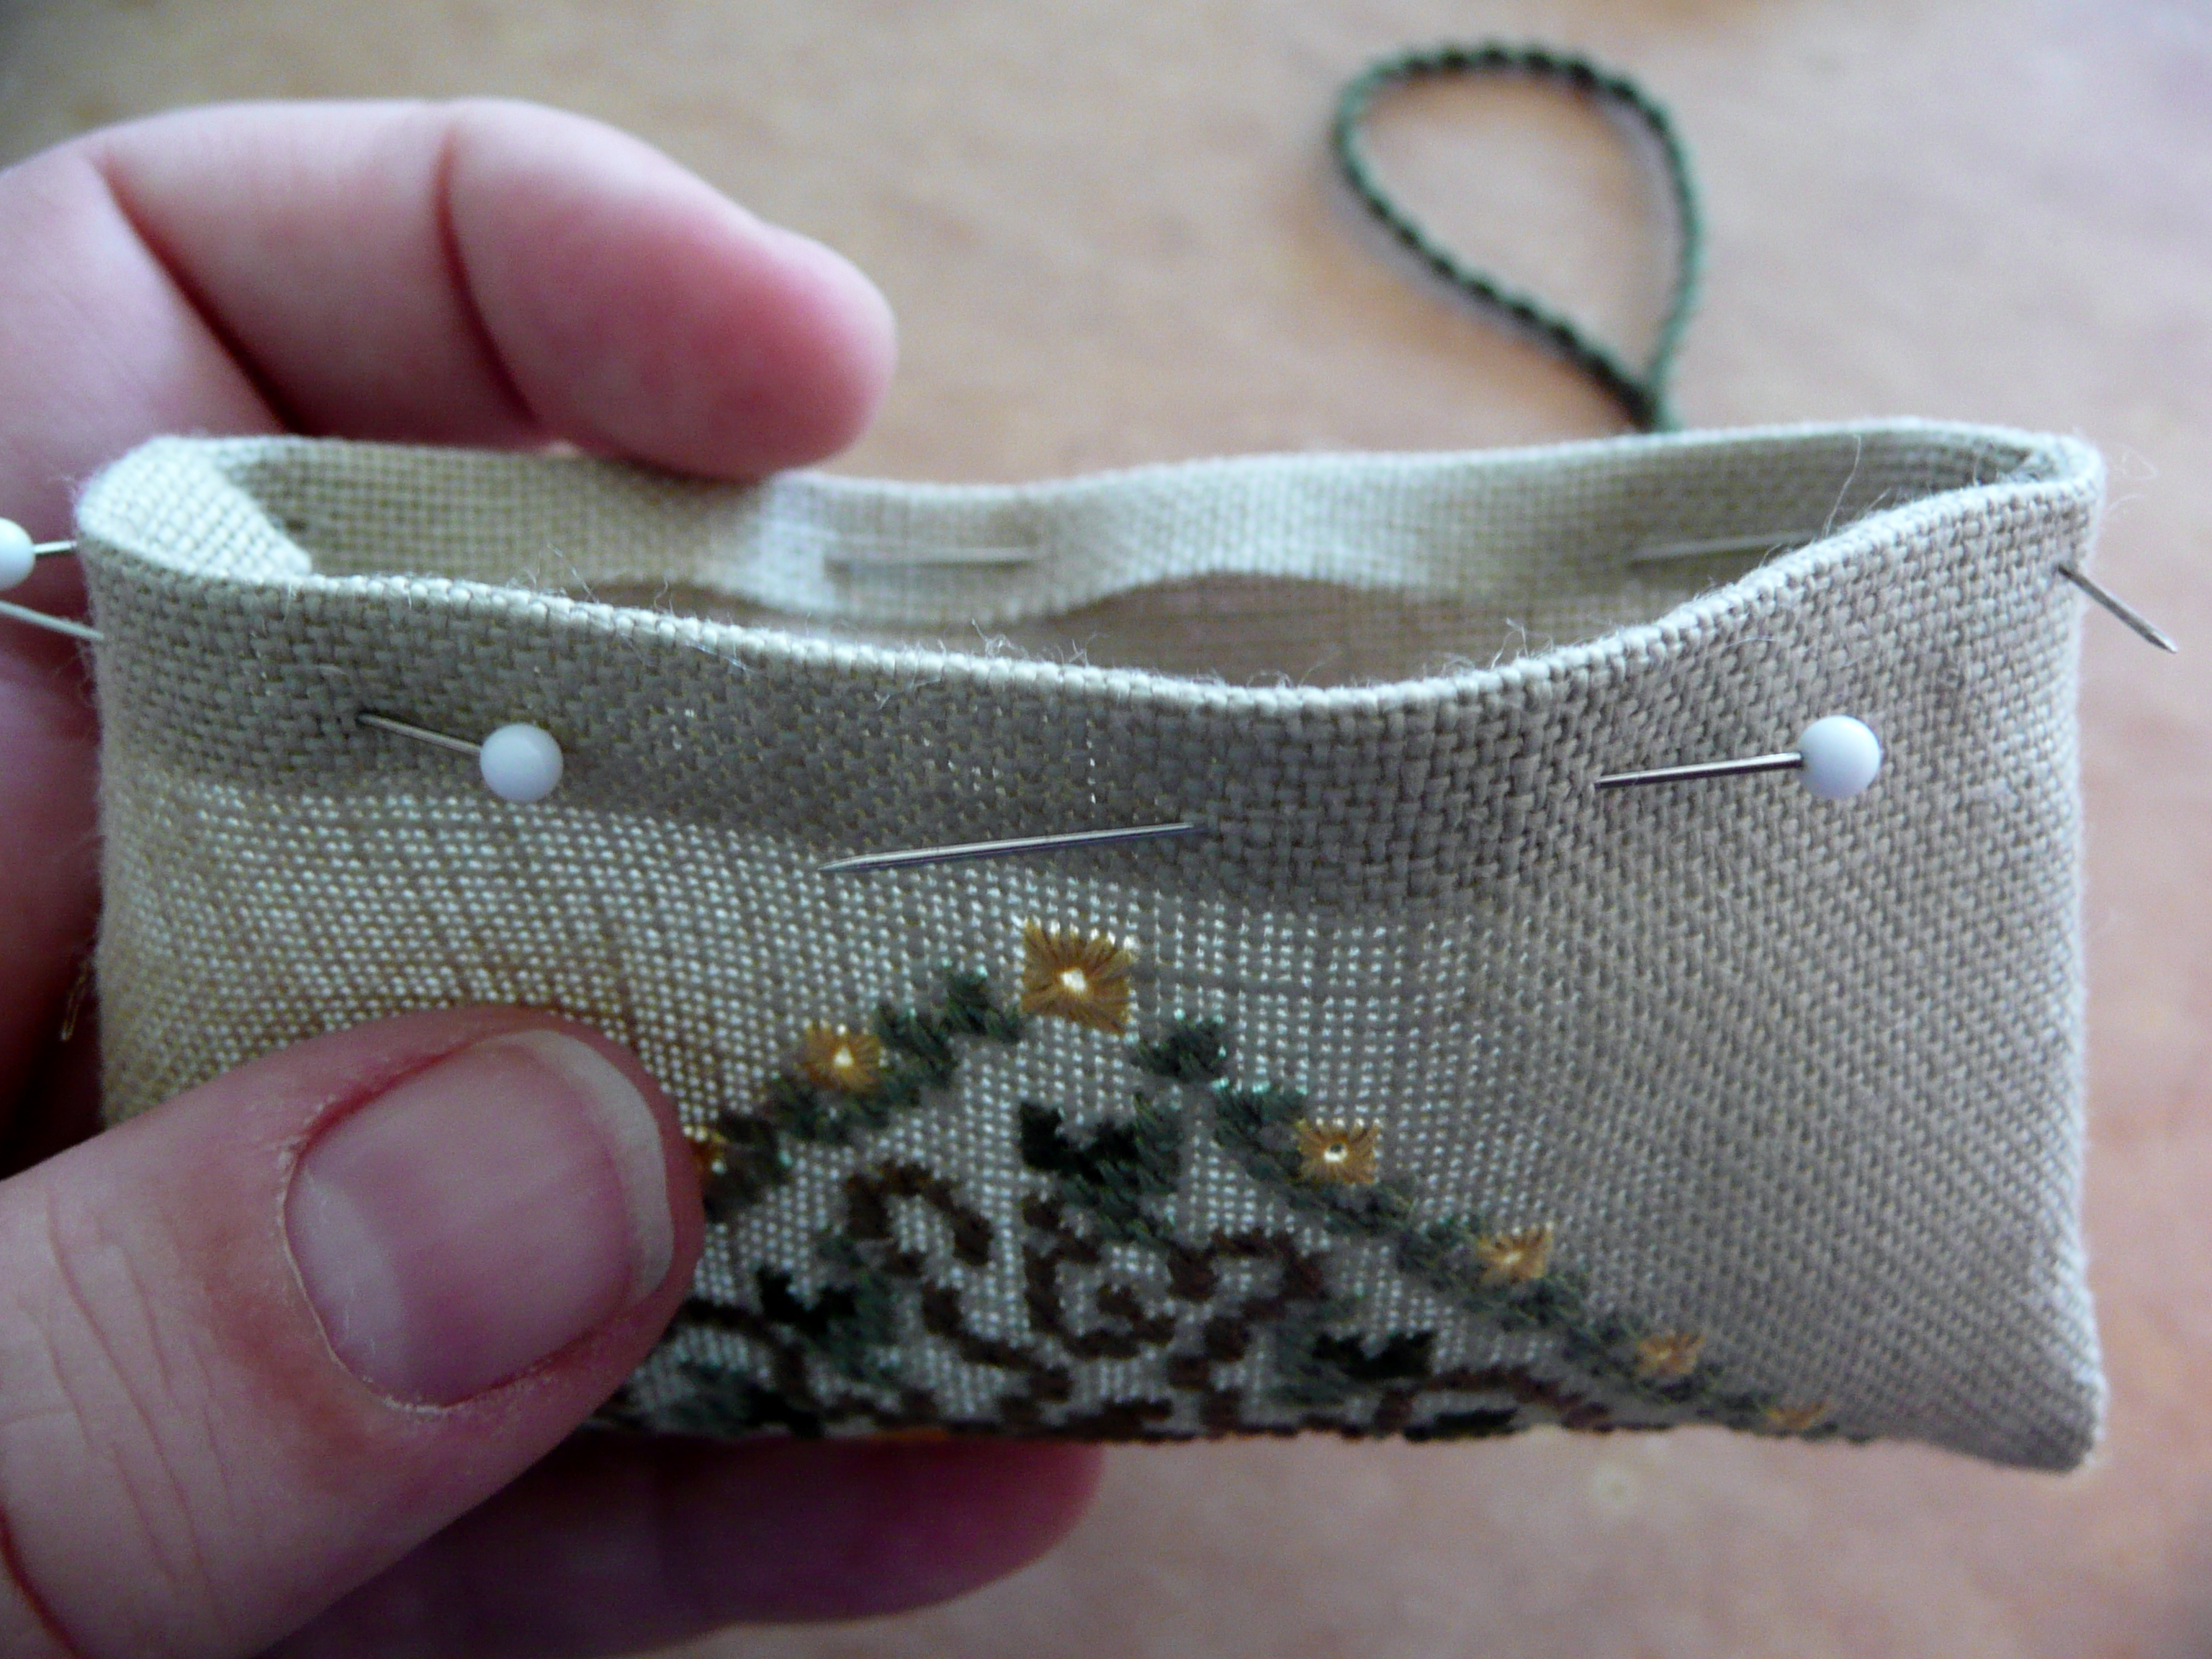
Stitching Smalls = Not lingerie worn by your stitching, but rather a term referring to needlework items such as needlebooks, pinkeeps, pincushions, thimblepips etc.

2012 WIPocalypse, Finishes, Freebies, Halloween, Judi Utter, Sweetheart Tree, The Goode Huswife

October WIPocalypse and a small finish (Updated)

Not much stitching was done on my WIPs this month … instead I was focusing on stitching a gift for Mum … but I’ve also just joined up for another smaller challenge which starts today and that is to complete 3 WIPs by the end of the year.  I may not be able to complete it entirely, as I have another couple of commitment pieces to work on before year-end, but I’ll try to focus each week on getting at least some stitches into those 3 selected WIPs … but the ones I’ve chosen are relatively small, so you never know your luck in a raffle, and I may be able to get them completed in time …

In the meantime, here is the only update I really have on my WIPs this time round – a couple of extra swirls put into With My Needle:

I started a page on my blog here to keep a track of the progress made during the year on my various WIPs – sometimes it’s hard to forget how much you manage to stitch over the course of a year when you put one stitch in here and one stitch in there, so I placed a progress piccie of how everything sat at the start of 2012 – once finished they get their final piccie added and get moved up into the “Completed” section … but for now I can easily see how my WIPs/UFOs currently stand, and it’s a reminder to pull my finger out and get some more moved into the finished section!  I think this will continue to be a feature on my blog until I start moving the bulk of my projects out of the In Progress section!

The other small finish I have is a little freebie that I started yesterday morning when staying at a friend’s place, and finished today:

“Jolly Pumpkin” freebie by Jodi Utter
Stitched on 28ct Mushroom Meran fabric
with recommended DMC threads
(The chart is still available from the Cyberstitchers website here)

Updated to add another finish:  Thanks to a public holiday in Sydney today, I also just managed to put the final stitches into my Halloween Fob by The Sweetheart Tree – it’s surprising how long that backstitching takes on these little projects, but it sure does make a massive difference to the end result!  One more WIP knocked off for the year, which is awesome! 😀

“Halloween Fob” by The Sweetheart Tree
stitched on 32ct Pipi hand-dyed Belfast linen by Countrystitch
with recommended DMC threads and Mill Hill beads

Beading, Chatelaine, Christmas Ornaments, Finishes, Freebies, Lizzie Kate, Paw Printings, Stash, Stitch-alongs, The Floss Box

Some more pre-biscornu finishes & some stash

Thanks to a little bonus from work, I spoilt myself with some stash as a treat before putting the rest on bills … here is the result of my latest mail run – Quaker Christmas II ready for a SAL starting on 1 November, along with a couple of potential silk threads for it (In the Burgundy by Silk n’ Colors/Threadgatherer, and Warratah by Dinky Dyes).  I also picked up a big piece of 28ct Lugana for my first HAED start, some 35ct Parchment WDW linen, 38ct Cream Bellazia linen, and a few replacement threads and beads I needed.  Then finally there is some 30ct Tin Roof WDW linen for my Lizzie*Kate Mystery Sampler which Mum has gifted me for Christmas (and the final instalment is here in this pile too).

As for stitching, I can show the previous biscornu finishes, although they’re still waiting to be turned into actual biscornus … I can’t show the final one, as that’s still waiting to be received by my exchange recipient.

Chatelaine-Kathys Violets
“Violets” by Chatelaine
stitched on 28ct white Cashel linen
with recommended threads, Kreinik braid and beads

Chatelaine-Kathys Violets

Floss Box-Free Biscornu 34
“Free Biscornu #34” by The Floss Box
stitched on 28ct white Cashel linen
with recommended DMC threads

And lucky last, I recently put the final touch to my Christmas ornaments by Paw Printings, by adding the little red beads.

Paw Printings-Golden Garland Ornament
“Golden Garland ornaments” by Paw Printings (from 2005 JCS Christmas Ornie issue)
stitched on 28ct mushroom Lugana
with recommended threads and beads

No more stitching done this week, due to some long working hours, but I did manage to be entirely lazy this morning and start putting some more Mill Hill beads into new containers … one more big batch yet to be done, but I need to get some more little containers before then (they’re hopefully due to arrive very soon).

Mill-Hill-Beads


Not much else to write about this week, really, so I guess I’ll leave it at that  for now 🙂

Blackbird Designs, Christmas Ornaments, Exchanges, Finishing, Friends & Family

Mental health alert … I’ve been doing housework!!

It’s been an interesting few weeks, with not a stitch happening in this household except for Mum’s stitching while I’ve been busy doing things she can’t help with.  Rather we’ve been pulling out cupboard contents and chucking old things out and doing a general decluttering – all in readiness for when I start advertising for a new flatmate, or in readiness if I have to parcel things up and put everything in storage and move out.  Without going into too many details, I can only say that the last couple of weeks have been incredible not feeling like I’m walking on eggshells at home, and I feel a lot less tense at home.  It’s just a shame I have to get someone else in to live with me, ‘cos this is definitely a feeling of bliss I want to continue.  Oh well, maybe I’ll have to start buying Lotto tickets!

Anyway, a fortnight ago we had the lovely opportunity of meeting Cathy who was over visiting from WA – while I’ve been following Cathy’s blog for a number of years now, this is the first time we’ve met in person.  It was really lovely to finally meet up, and she managed to survive the day (and car trips) with me and my crazy Mum, so she’s pretty resilient! LOL.  We drove down the coast and met up with our other stitching pals in NSW and spent the day at Kiama – as always it was wonderful company, and we had a great day stuffing our faces with munchies and laughing the day away.  It was a really great day, and I’m already looking forward to the next one! I’ll ‘steal’ one of Alison’s photos from the day to share here … which stupidly sparked a tirade of hatred from a cousin in the UK on Facebook … I won’t go into details here, but let’s just say it was ‘interesting’ to say the least!!

While we were at Kiama I didn’t get any actual stitching done, but I took a pile of ornies that just needed to be stuffed and sewn up, so Mum and I did a shared job of it – Mum did the stuffing and I stitched their bottoms up.  Here are the results – there would have been a few more, but we ran out of stuffing 🙂

I also mentioned in my last post about an exchange that I’d received – this is what I received from Karen at The Stitching Post.  Funnily enough I’d only just been thinking about her recently, and I was surprised when an envelope arrived in my mailbox with her name on the back!  Karen chose a Blackbird Designs ornament for me, and the theme was “birds” for the exchange so it fit the bill perfectly!  She also included some extra little goodies that will come in handy.  Thanks Karen for a lovely exchange 🙂

And on that note it’s time to get back into cleaning and decluttering mode – we need to get everything finished by Monday at the latest so I can get carpet cleaners in to clean the carpet in Katie’s old room … it looks like she’s thrown up or something in there at one point, and is an absolute disgrace.  Bless Mum for offering to come over and help to clean things, as we’ve ended up doing everything again in that room.  Oh well, that’s all a part of history now … time to move on … and I have to admit the decluttering has been really cathartic 🙂

2012 WIPocalypse, Bent Creek, Cross Stitch, Enchanted Mermaid, Finished Items, Jardin Prive, Mirabilia, Paris, Stash, Travel - France, Works in Progress

2012 WIPocalypse update for March

I started drafting a post during the week, but it seems that the WP app doesn’t automatically store a draft … so I lost the whole thing.  And today I’m fighting a dreadful head cold that I’ve been struggling with since Sunday, so it will be a lot shorter than originally planned.  But there are few things to write about, so I’ll try to get to the point quickly …

First up, though, is my stitching update for the 2012 WIPocalypse challenge.  As seems to be the norm these days, I have had absolutely minimal stitching happening over the last month – I almost need to continually do a ‘before and after’ shot so you can actually see what the progress is … I’ve always been a prolific stitcher in the past, so this is something I’m just not used to.  Anyway, here are the two pieces that have seen slight progress since last month …

First up is Bent Creek’s Winter Snapperland – the entire progress consists of two whole snowflakes and the wording … I know, hardly worth blogging about really, but I guess two snowflakes and some words are still taking it closer to a finish at some stage!

Then the other UFO/WIP to be dragged back into daylight is Mirabilia’s Enchanted Mermaid – this poor love hasn’t seen daylight for an awfully long time … I can’t remember the last time I dragged her out to be worked on.  Anyway, she’s had a tiny bit of love in February and is getting closer to having her backstitching done on her face so she doesn’t look so dreadful (her cheek looks like it has a terrible skin disease!!).  I may also start beading as I go, which just may give me a kick in the pants to stitch on her some more.

UPDATED TO ADD:  Oops, I forgot that last month I also put the finishing stitches into Jardin Prive’s Christmas, and I hadn’t posted a piccie yet.  So, here you go, here is my first big finish for the year …

The next news is that I finally managed to catch up with my dear friend Alison to pick up my Christmas gift to myself – I basically gave Alison $100 to spend during her USA trip last year, along with a huge wishlist to choose from, and I picked it up last weekend.  It was a wonderful treat to see what goodies she managed to find, and I absolutely adore the choices she made … I can’t wait to start on the SB kits, they’re awesome!!  Thanks once again Alison, I really really appreciate you doing this for me, it was a really nice surprise!

The next piece of HUGE news is that I’m heading off on holiday … not just anywhere, but we’re off here:

Well, OK, truth be told we’re not off to see the Doncaster Rovers, but rather just the Doncaster part!!  It was very hard to find a website image that actually has the word “Doncaster” in it!! BUT more exciting for me, we’re also off to visit here, and I’m just ever so bursting with awe and excitement that I’ll be going back to visit my most favourite city in the entire world to date:

Mum’s youngest sister is basically going through her final fight with throat cancer, and Mum and I have decided to head over to spend some time with her, and my other family members, before it’s too late.  Being blunt, it’s much nicer to be able to visit when she’s alive and not to be flying over to attend a funeral.  Then after a few days visiting with our family, we’re off to fulfill one of my dreams to return to Paris once more.  I have cheap airline tickets from my employers in celebration of my 10 year anniversary with them, so we felt it was a good time to cash them in and make good use of them.  The downside is that we have had absolutely zero time to get spending money together so it will be very very budget with whatever is available on the credit cards … but very very fun!!  And it’s all happening one week tomorrow, all going well (we’ll be travelling standby so we just have to keep our fingers crossed!).

Initially I thought of taking one of the SB kits with me to start on holiday, but now I’m thinking I also may take two Parisian charts to start as well … the freebie “Souvenir de France” by Blackbird Designs, which is still available for download here

And the other choice is “Eiffel Quaker” by Jardin Prive, which is available for sale directly from the designer as a PDF here … ah decisions, decisions.   Plus I have an exchange that is due for posting while I’m away, so I’ll be kitting that to be stitched while I’m in the UK visiting with my Aunt.

The other news that I haven’t mentioned yet is that along with my trip to see my Aunt in the UK, we are travelling by train back south to London and apparently have to pass by my dear friend’s home … which means we get to spend a night with Nicki, Martin and their lovely furbabies – it’s going to be wonderful seeing Nicki again after so many years 🙂