
Not much stitching to show for February due to a big mental health slump – I just couldn’t get overly motivated with anything, and when I forced myself to work on a sewing WIP that was almost finished I totally stuffed it up by lopping off the seam allowances by accident … that kinda sealed the fate of the remaining WIPs for February and I’ve been avoiding them all ever since in case I ruin anything else 😉
Sewing
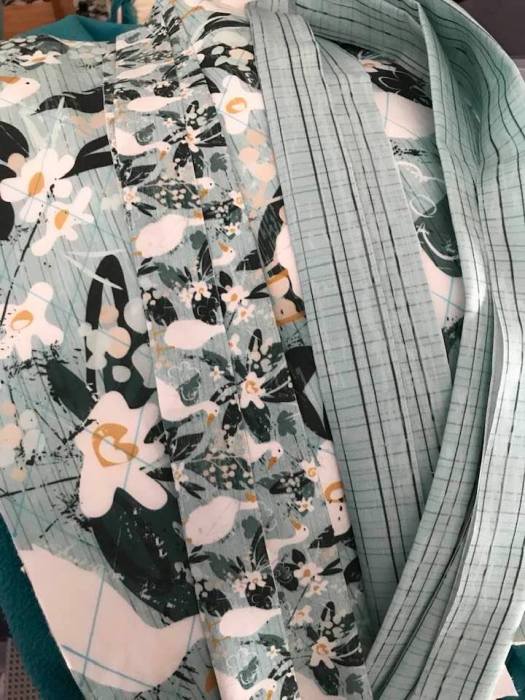
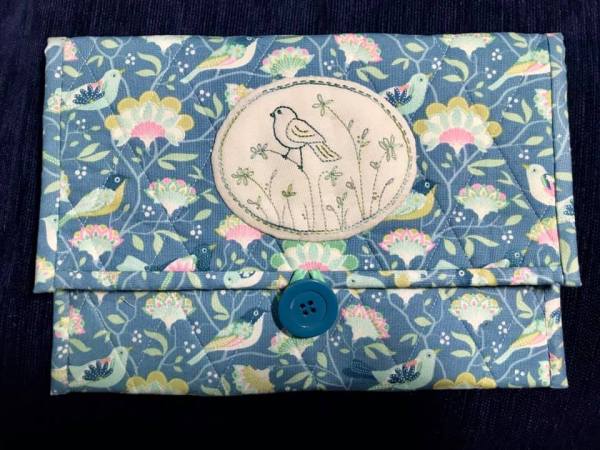
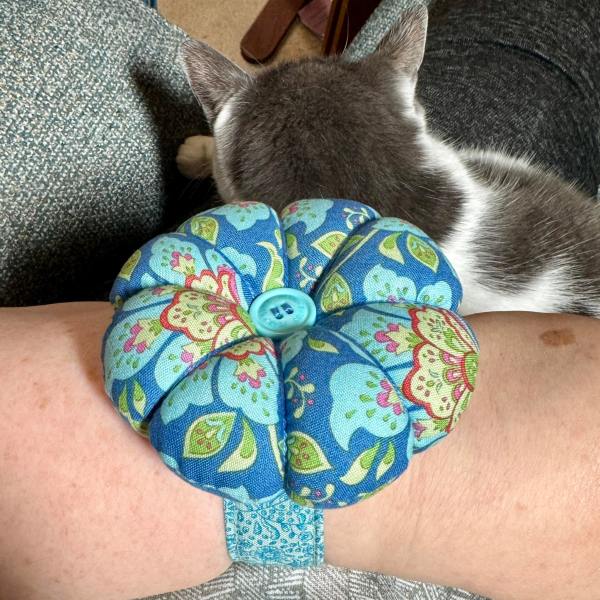
Before my big sewing disaster I did manage to successfully complete one item at the end of January, though – a wrist pincushion that’s a free pattern by ByAnnie. I was nervous it would be uncomfortable to wear, but it’s an absolute dream to wear and use. So glad I made this, it’ll hopefully save me regularly sending my small tub of pins flying from my sewing desk (I’m incredibly clumsy these days, even more so that I’ve always been). I used Tilda fabrics from my stash for this … and had an unexpected furry model assistant in the background desperate for a cuddle 😉
Stitching progress:
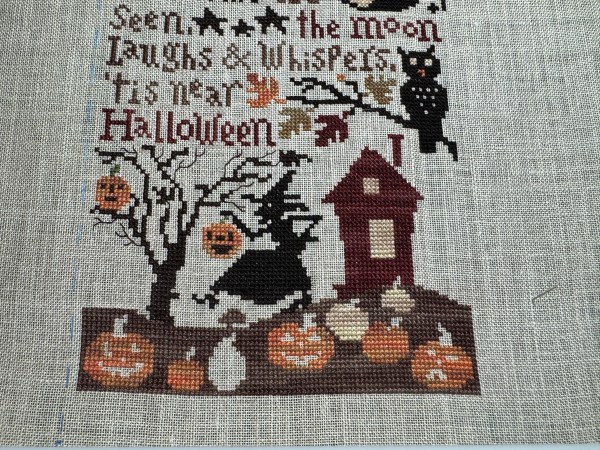
When Witches Go Riding by Prairie Schooler – this is the only stitching project that saw progress during the last month. Surprisingly it just may get finished this year if I keep this up!

Stitching question
What stitch-a-longs (SALs) are you participating in this year?
I signed up for the HAED SAL this year, and for the second year running I’ve decided to opt out from the stitching because I have so many pokers in the fire that need dealing with instead. Also I do a lot of cardmaking each month as part of Instagram hops etc, and that feels like enough commitment for the year so I don’t feel overwhelmed. From a stitching/sewing perspective, the only items I’m participating in are some monthly blog and Facebook challenges:
- WIPocalypse
- WIP Warriors (private Facebook group)
- 52 week sewing challenge