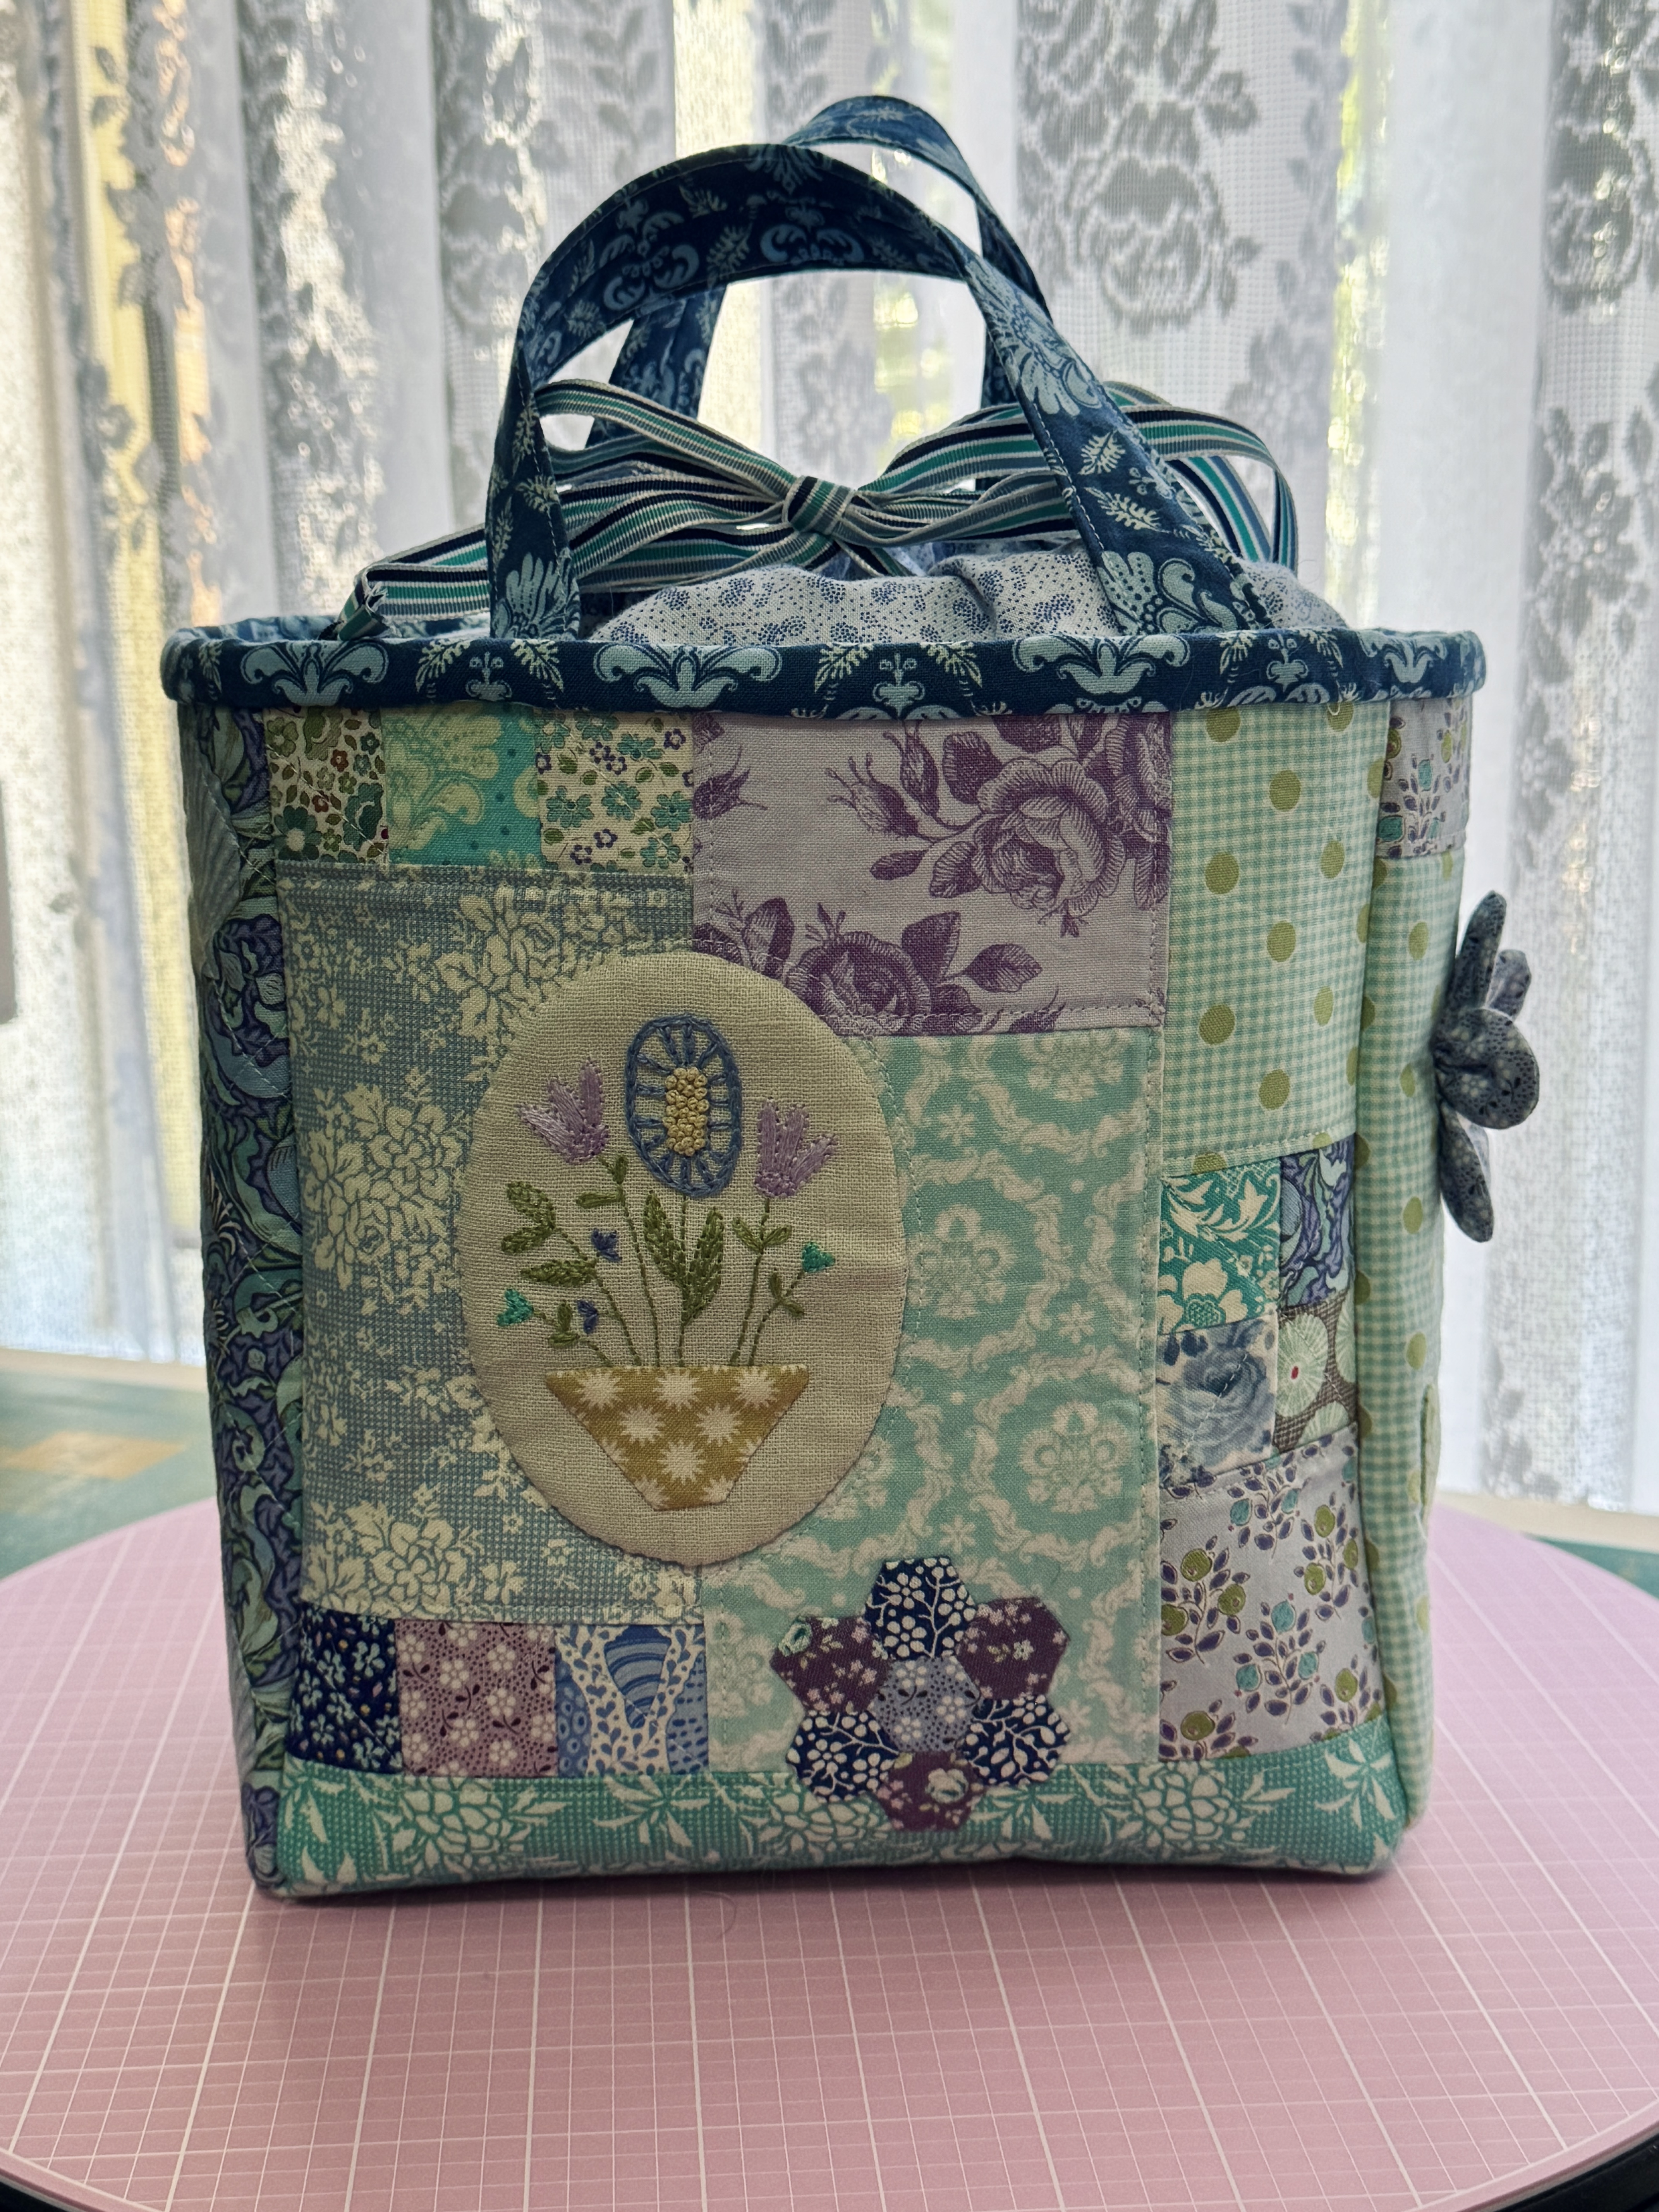
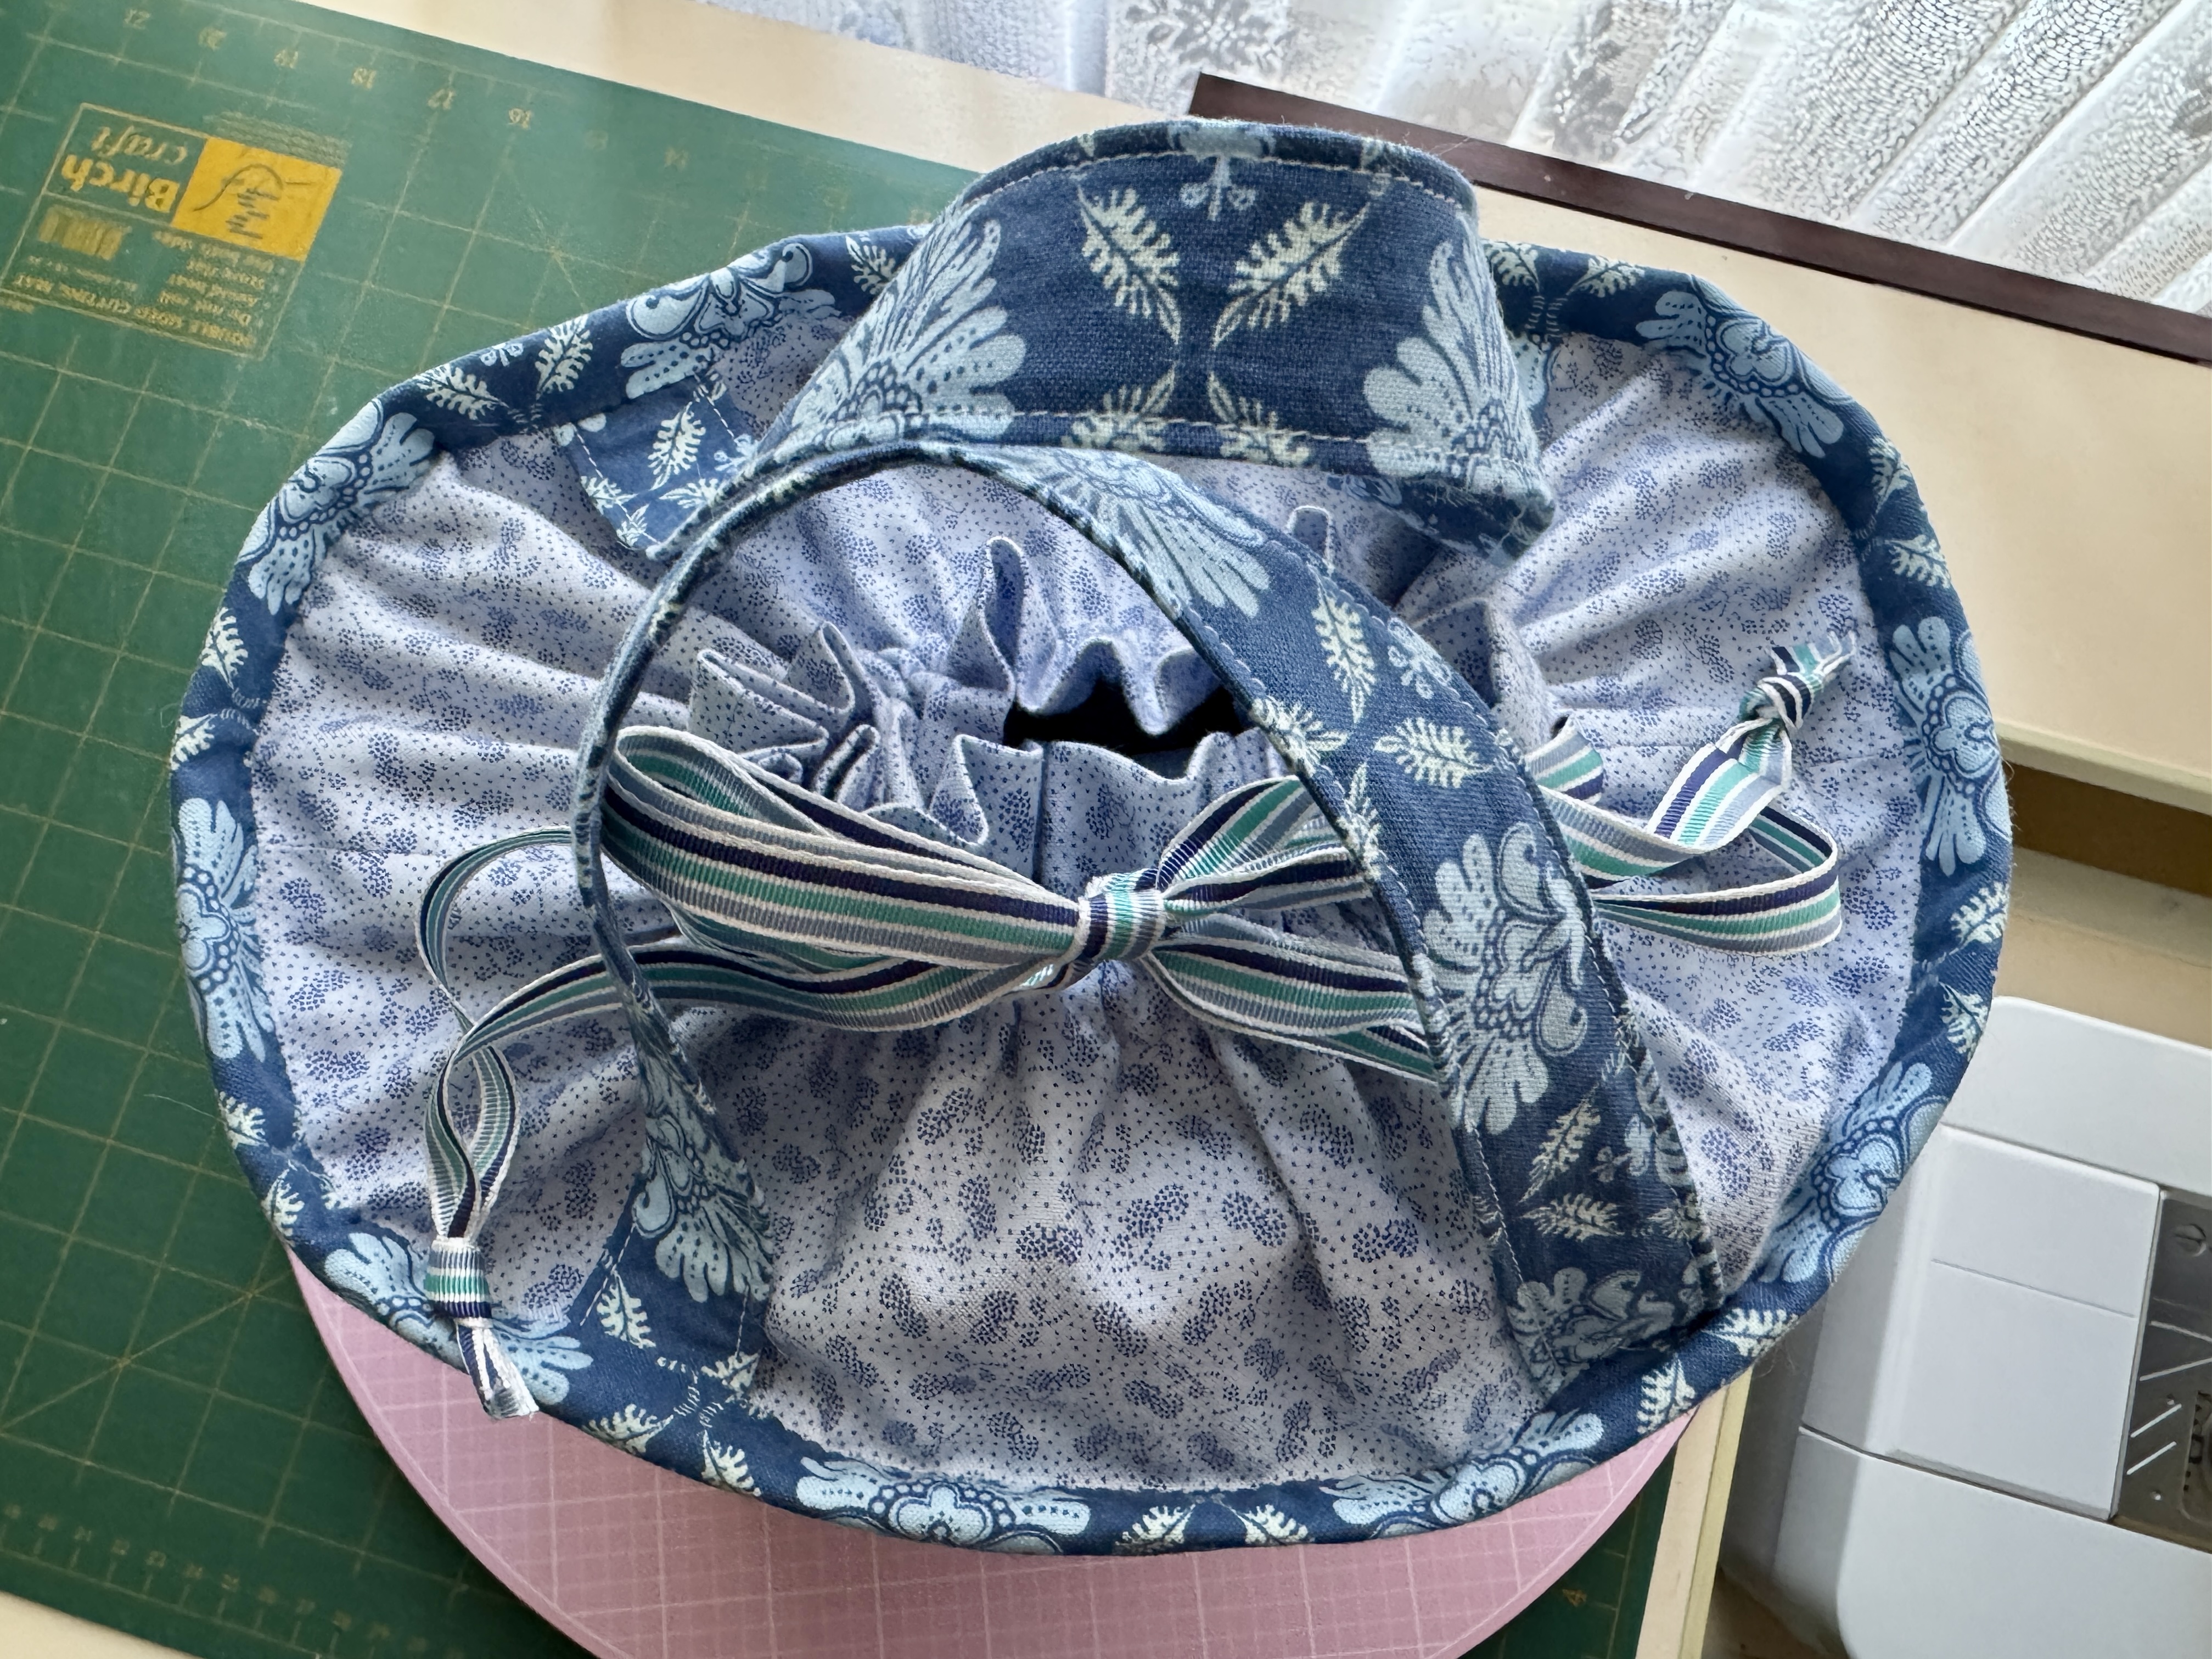
A recent Tilda exchange of the Tully Tote Bag by Natalie Bird/The Birdhouse saw me making this version for my partner. It was fun creating for someone with similar colour tastes to me 😉


Enjoying a sense of peace one stitch at a time
A recent Tilda exchange of the Tully Tote Bag by Natalie Bird/The Birdhouse saw me making this version for my partner. It was fun creating for someone with similar colour tastes to me 😉
I’ve been wanted to make more project bags for a long time, but the sewing bug totally disappeared after Mum was hospitalised four years ago. It’s back with a vengeance, and I finally made my first ever project bag in this style (I’d previously made a vinyl-fronted bag, but decided it wasn’t my favourite style). And it was a quilt block tutorial of all things that sparked the inspiration!
I was searching YouTube tutorials for scrappy quilts and came across potato chip quilts. In one video the maker was showing different styles of the block, including using a focal fabric in the centre of the blocks instead of using two cut fabrics. I’ve had a large panel of Australian critters in Christmas sweaters for a while and had no idea what to do with them, and all of a sudden inspiration struck! I chose the kangaroo on a pink background as my tester block, because I can’t stand pink and it wouldn’t matter if I messed it up 😉


I started with the larger sized fabric cuts, as per the quilt block, but quickly realised that it looks great for larger quilt sizes, but isn’t quite the look I was going for as project bags. For this one I also tried to have a continuous look of the blocks going around the shape, including in the space above the zipper, but that just added extra complexity and I’m not sure it really adds to the overall look – I’m not sure. One thing I’m super happy about, is that I found a great kangaroo zipper pull which suits this little project perfectly! Overall I’m super happy with it, though, and I think adding the darker zipper tape helps to take away the emphasis on the pink colours. I’ll probably end up keeping this one (even with all that pink, yuck) – in some ways it’s a good reminder of my starting point for future bags … 🙂 And what a wonderful way to combine my new adventure in patchwork with something that’s practical and useful while improving my skills! 😀
Yay it was Friday yesterday, which meant my sewing/stitching pals were busy creating and working on sewing and other craft projects.

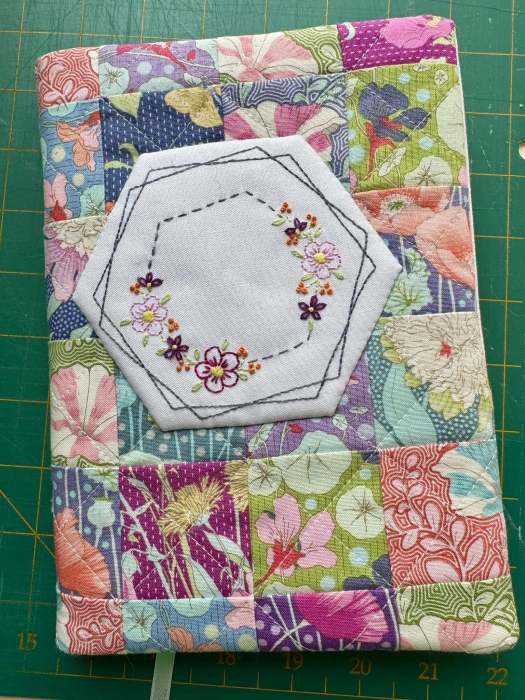
In my case my first task was to put together this book cover, which was from Tilda Club issue 36 by Lilabelle Lane Creations. I managed to attach the embroidered panel on Thursday night, and put it all together yesterday (Friday) … however the notebook that it was based on didn’t end up fitting! I grabbed an alternative hard-backed notebook instead, which fits perfectly, but now the embroidered panel is off-centre and kinda annoying. I must say, though, the project itself is really pretty – and it was a great one to use this very colourful and busy Tilda fabric collection.
I’ll be truthfully honest that I found the instructions a bit lacking for this pattern. There seems to be one clear error where it says for both lining pieces “along one of the short ends on each piece…” to fold over and top stitch the edge. On the smaller piece of lining, though, the actual edge that needs the foldover and topstitching is the longer side and not the short one – the instructions contradict the diagram in the instructions.
There’s also no adjustment made to ensure your notebook fits other than for the height (ie it doesn’t take into account the width of the notebook), so the notebook I’d originally intended using for this didn’t fit thanks to the coiled wire spine – I had another hard-backed notebook I could use instead, so that was no drama though. When adding the embroidery panel it states to ‘take into consideration the 1/4″ seam allowance and the width of your A5 notebook’. What would’ve been super duper helpful (especially to this less experienced sewist who takes every instruction literally) is to also add a note to “take into account the 1″ back flap that holds the notebook in place”, and not just the 1/4″ seam allowance. Anyhoo, that’s just my lack of experience not thinking about that, so regardless of which notebook I ended up using the embroidered panel was never going to be aligned in the centre … my bad, and something I’ve learnt from for future projects! One day in the future I’ll do something to fix it – either by removing and reattaching the hexagon panel or adding a stamped fabric tag/label with a positive saying on it. For now I’ll just glare at it with a filthy look every now and then haha.
Last night I also started working on another project – another notebook cover, must be the week for it – but old fluffy bum (aka Smudge) decided she needed attention so it got put to one side. And while trying to finish it this morning she decided to join in the fun but this time kept swishing her tail by the needle, so I had to down tools for a while today too … at some point either today or tomorrow it’ll get finished and another kit can be ticked off the sewing list.


